
(Continued from Part 1 in this series).
This is a January to remember. No rain. Nary a drop. Least amount of precipitation in a year in the Bay Area in recorded history. On the one hand I am taking advantage of this wondrous weather by cycling and kayaking every day possible in these deep winter months. On the other hand I know these ideal conditions are terrible creating a terrible drought we’ll pay the consequences of in months to come.
Having taken the Oru kayak out on Christmas day morning, the sole boat on San Francisco Bay around the Hyde Street Pier, I felt I was now ready to get the cycle trailering option working.
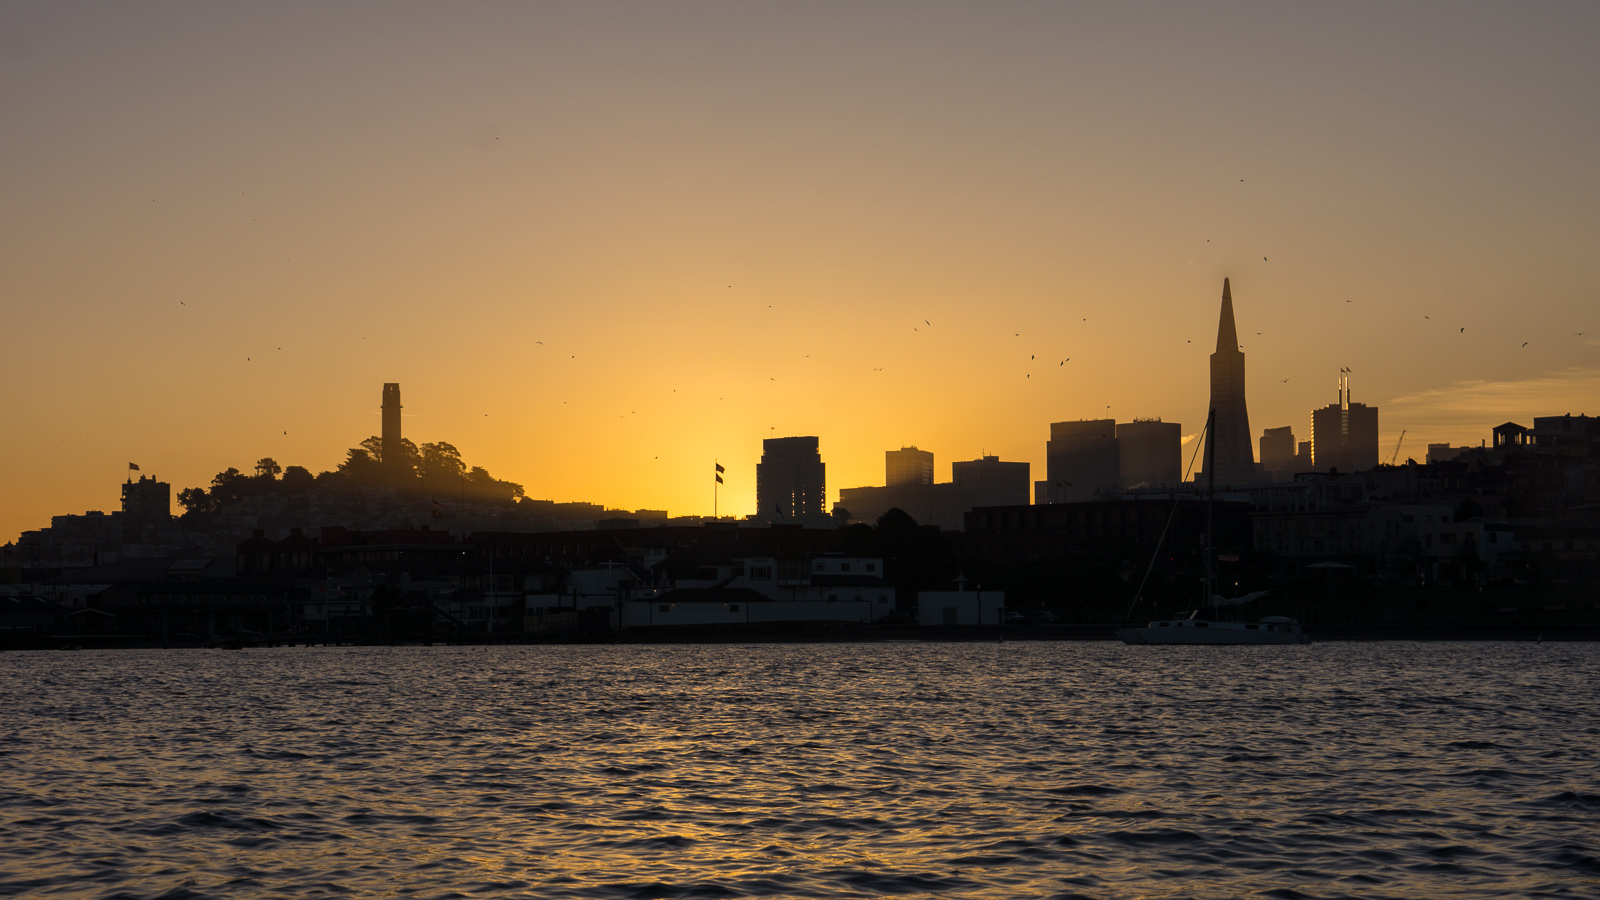
Xmas morning sunrise skyline
Online research for trailering options dredged up several $100 options, but they all said they wouldn’t work with quick release skewers or had seat post attachments that wouldn’t accommodate the shape of the folded Oru kayak. At the other end of the spectrum were some awesome trailers fitting my needs perfectly, but running upwards of $350 to $600. I finally settled on a Burley trailer option in the $250 price range, a little higher than I had budgeted. I ordered it through Amazon on a Sunday evening and was surprised to see it show up at our house through UPS the next afternoon. Perhaps the post Xmas delivery speed was a carry over from the holiday delivery mania.
I built the Burley trailer pretty quickly and then waited until the following weekend to try trailering the kayak. Having only bungee cords at hand in my garage I was able to tie down the folded Oru Kayak atop the trailer. Our house sits on a pretty good hill so any route is downhill at first. I took off tentatively, listening to new sounds from the trailer and load following behind me over SF’s rutted roads. After traveling downhill to 24th and Castro via Diamond Street I checked on the load and found, as I had feared, the kayak had shifted forward several inches and threatened my back wheel. I righted the set up, took off again and headed straight to Cole Hardware at 29th and Mission for other tie down options. A set of trailer straps, nine feet each in length, proved to be the best option. They had no give to them and held the kayak firmly in position on the trailer as I then made my way to China Basin (Pier 52) via Cesar Chavez Street.

Arriving safely. Kayak in tow
The challenge with cycling to kayak is securing everything you brought with you from theft while on the water. Either it stays ashore unattended or comes with you somewhere on or in the kayak. I locked my bike normally and then dealt with the trailer. How to keep it or parts of it from being stolen? I removed the quick release wheels and locked them and the frame to the rear wheel of my bicycle. My travel pannier from my bike rack thankfully fit fine into the back of the kayak. I was good to go.

Stowing away in the aft cabin of the kayak
I was now getting more comfortable launching from a pier without having to get my feet wet on a sandy beach. I paddled north out of China Basin toward the AT&T Ballpark. Not sure I’ll ever find myself floating off right field waiting for a splash homer, but it is fun to see the stadium from the water.
I had found my Garmin GPS worked fine in the kayak tracking my route and measuring my pace. A cutout in the floor plate of the Oru Kayak held my GPS steady as I paddled.
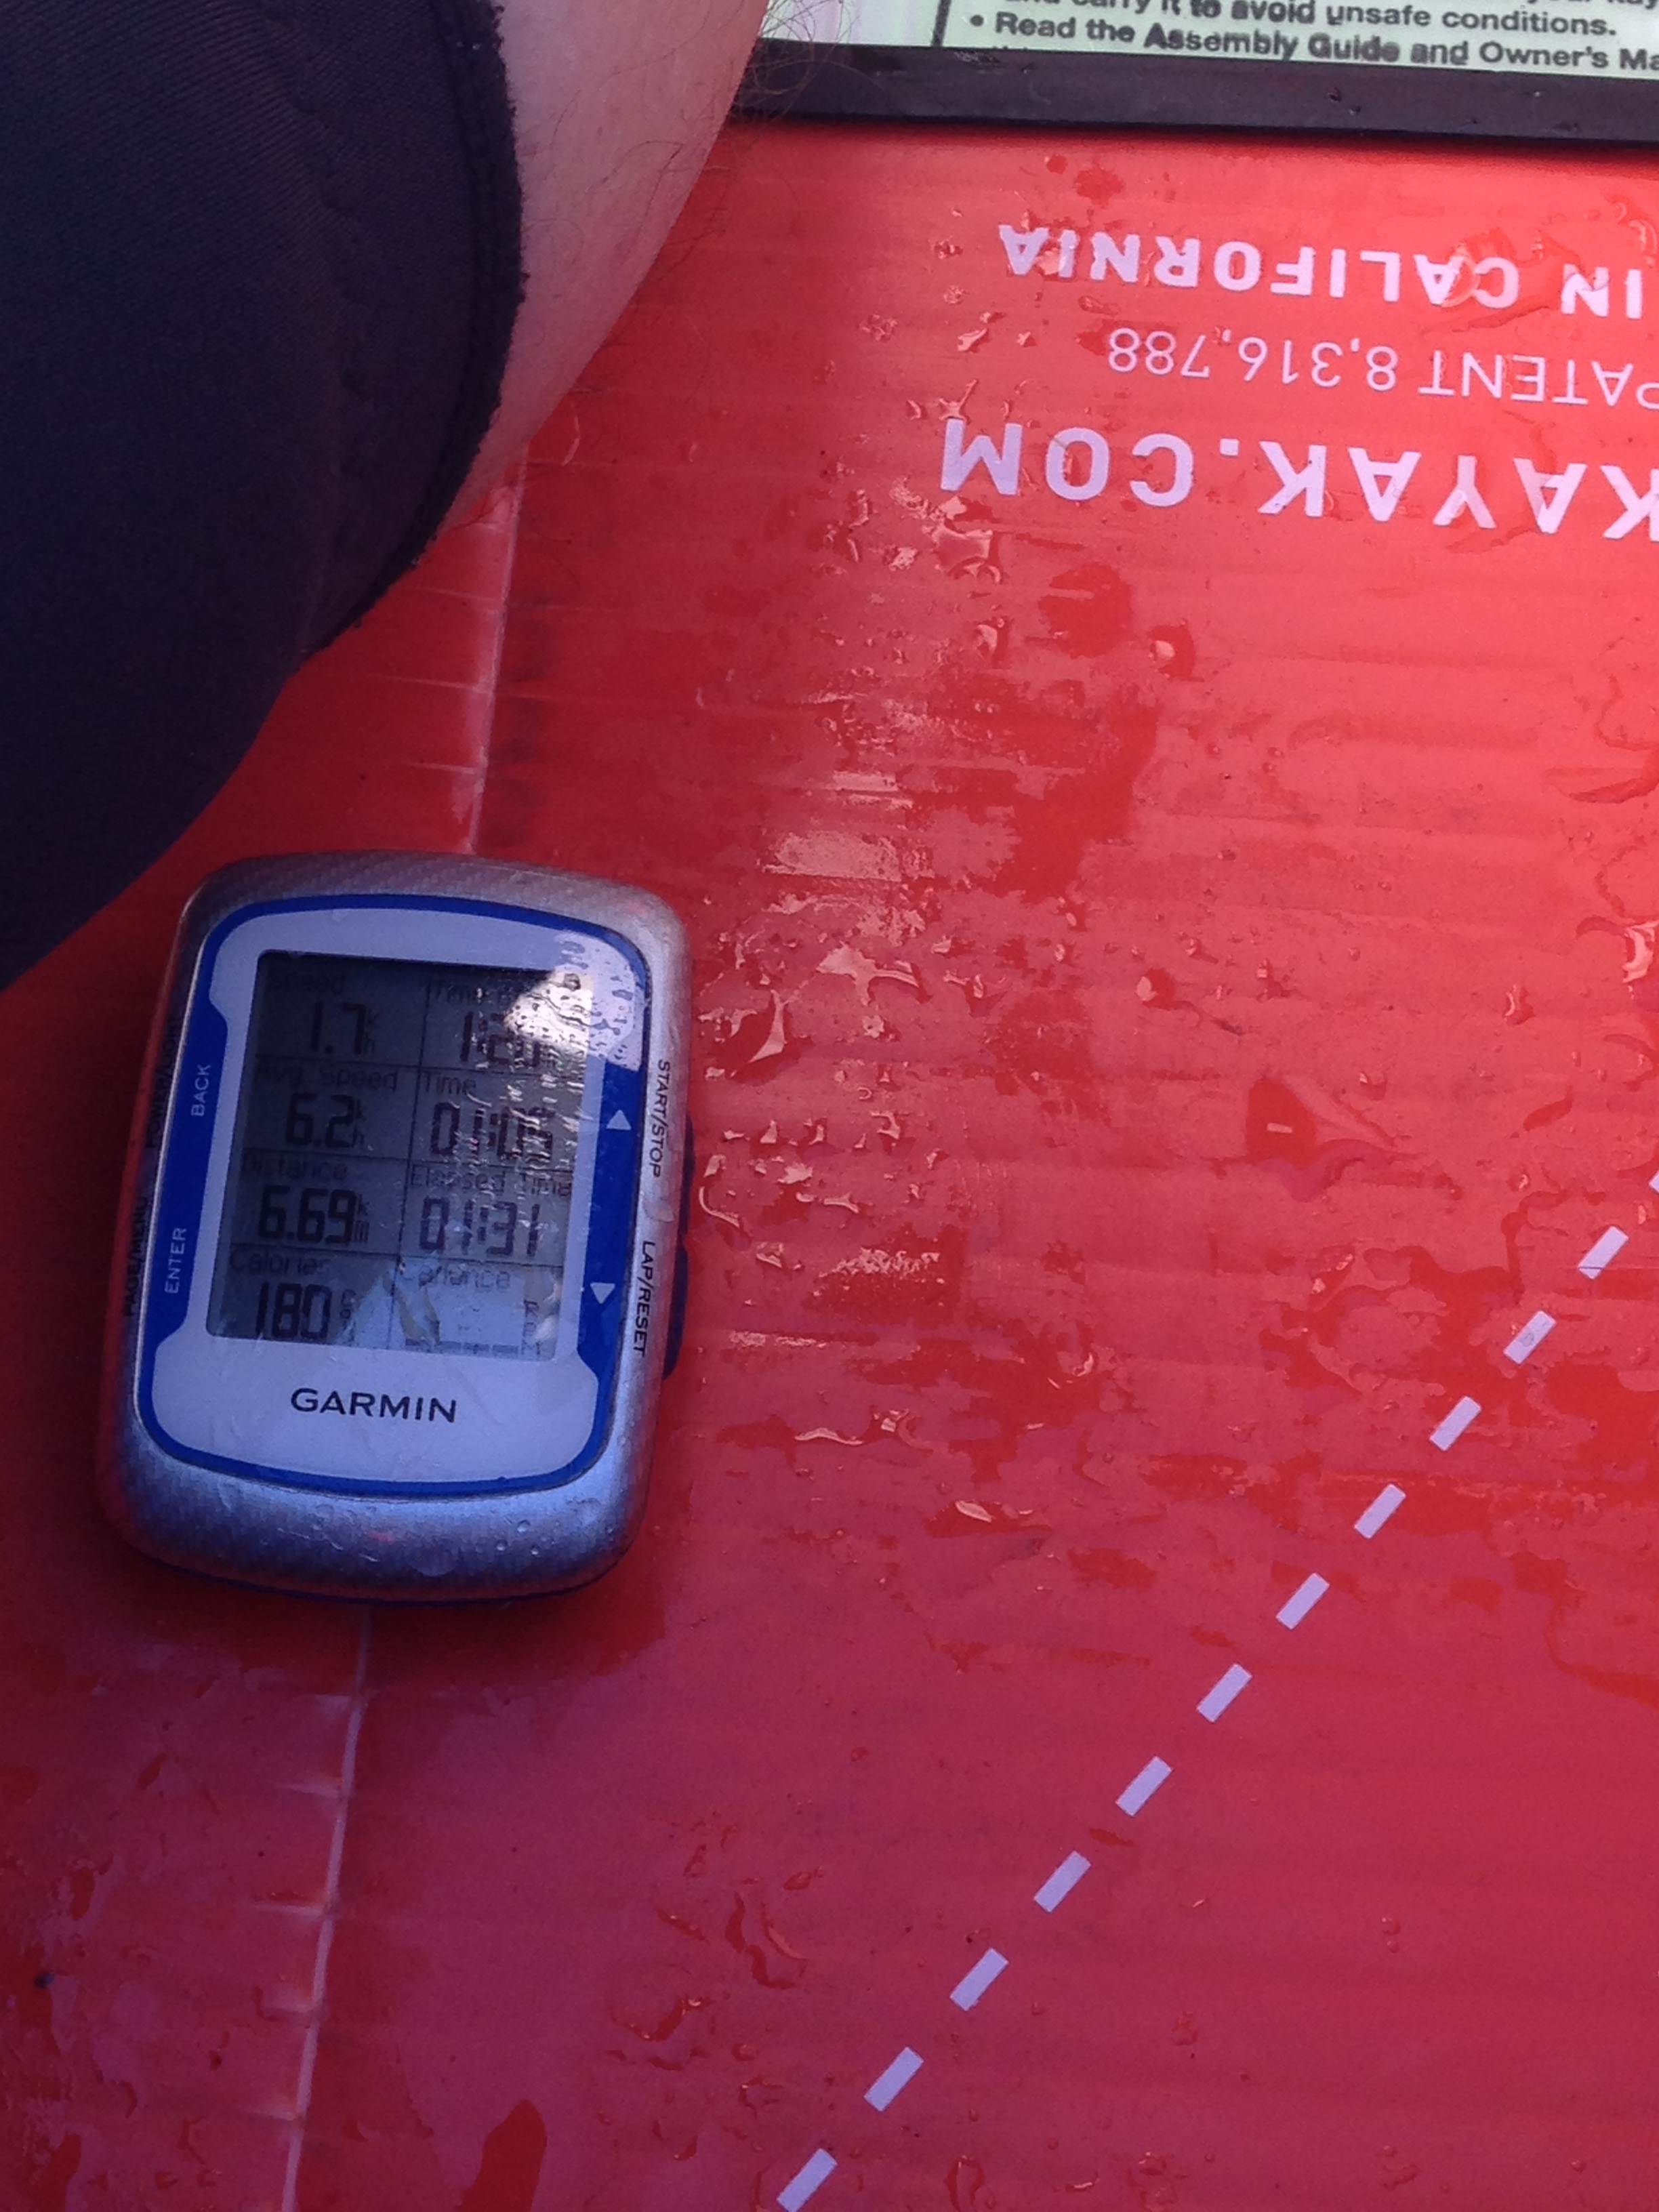
Tracking my Oru Kayak trips with the Garmin Edge 500 GPS
Over my previous five sojourns around the SF waterfront I was gaining more confidence and upper body strength. My pace was averaging about 4mph and after three trips I was able to sustain this rate for up to an hour at a time. Here’s the route I took this past weekend. 5.5 miles out and back.
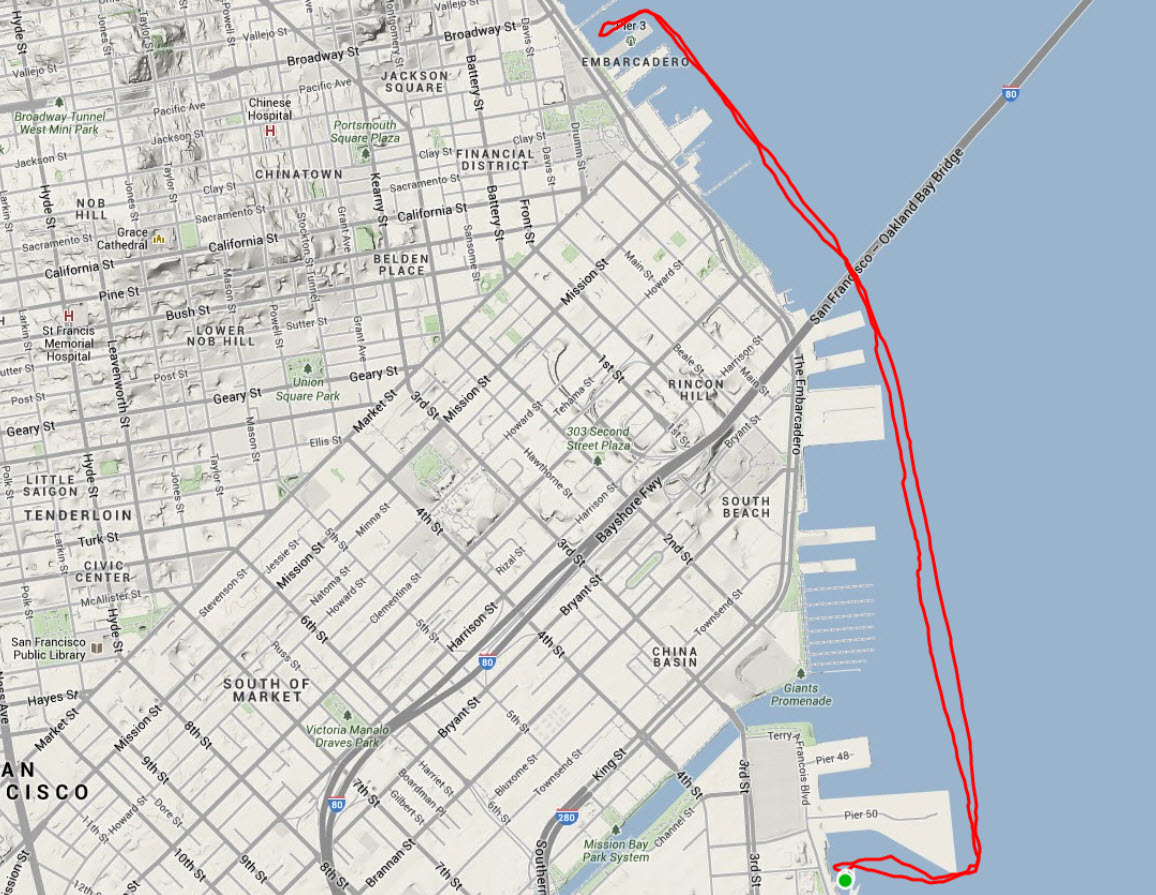
Kayak Route: China Basin Pier 52 to Exploratorium
Out on the open water I found the waves varying from nearly placid to sizeable two or three foot rolling swells created, no doubt, by the big oil tankers that made their way south along the bay’s trade routes. While the Oru Kayak is a little more tippy than others I have used I found riding these swells and other boat wakes not too difficult. Overall, I continued to be surprised by how few boats seemed to be on the water at any point in time.
Setting up and repacking the Oru Kayak is taking me less and less time each trip. The biggest delay I have is time taken to talk with passers-by interested in discussing their kayaking experiences or seeing how the folding kayak concept works. Adds about 15 minutes for me on either end of my trip, but I enjoy each conversation.
Starting at sea level means that any final destination is uphill. For me this means a 300 foot climb to my house with the last city block about an 18% grade. While I can always walk that last block I felt I needed to challenge myself and try the hill at least once with the kayak and trailer in tow. It was a struggle, but I was able to conquer it. A satisfying end to my cycling and kayak trek for the day.


Having taken the Oru kayak out on Christmas day morning, the sole boat on … ttrailerk.wordpress.com
Hello! I’ve been thinking of doing a bicycle tour around Lake Michigan and thought of bringing an Oru kayak with me. I was wondering which trailer you went with, as I’m trying to figure out what will fit the kayak. Cheers and happy trails, paths, and waterways!
Thanks for your question. I use a Burley Flatbed trailer. The Oru Kayak lays across the top rails of the trailer and I tie it in place with with two long straps. My life jacket and oars stow underneath it in the bed of the trailer. The trailer itself breaks down nicely for stowage in a car/SUV for transport along with the folded kayak.
I want to play with an orkayak on a bicycle in Japan. Is the type of orkayak a bay? Or is it another model? Thank you.
I have the original Oru kayak model with the traditional kayak cockpit. I don’t think a different model, which also folds, will affect the ability to trailer the kayak behind the bike as my previous comment above describes.
This is super helpful. Any chance you can update with a photo of how you lock your bike up with the trailer? Also the new Oru Inlet might not work (I’m investigating before investing in the burley). The dimensions are much longer which means it may drag, but the good news is it may be narrow enough to fit inside the flatbed instead of on top of the rails. 42″ long x 19″ tall x 10″ wide.
Thanks for the comment and question. I can’t provide a current picture at this time. I have relocated my kayak to a second home up in the San Juan Islands. The Oru kayak is over six years old at this point and still working (folding/unfolding) really well. When in San Francisco I would detach the Burley trailer from the bike, detach the quick release wheels and thread a spare cable through the Burley frame and wheels and one end of a U-lock that locks the bike to a parking meter or post. Hope this helps.